46 lines
2.3 KiB
Markdown
46 lines
2.3 KiB
Markdown
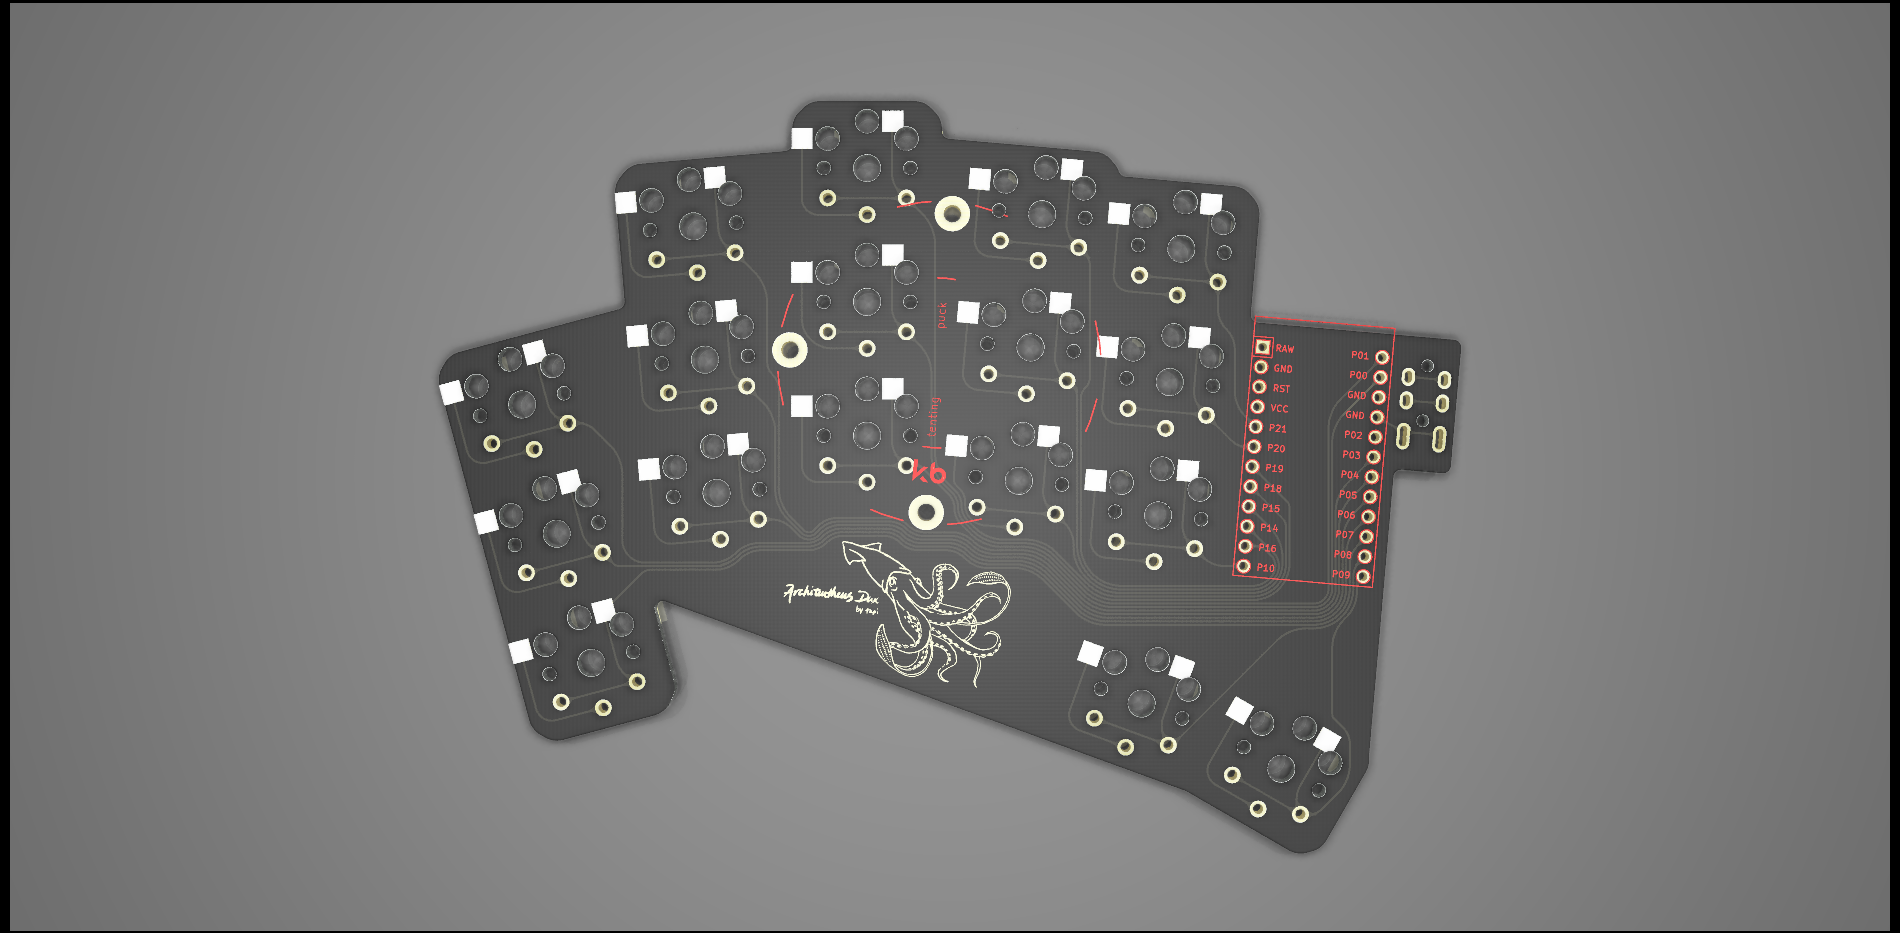
# Architeuthis Dux
|
|
|
|
|
|
|
|
AKA A. dux, A.D., "Giant squid"
|
|
|
|
34 keys, same stagger as [D. gigas](https://github.com/tapioki/cephalopoda/tree/main/Dosidicus%20gigas), but with two thumb keys included. Pinky, ring, index, and inner columns splayed at 15, 5, 0, -5, -5 degrees. SplitKB Tenting Puck support. All PCB files are available on the [project's github page](https://github.com/tapioki/cephalopoda/tree/main/Architeuthis%20dux)
|
|
|
|
Thank you [Perce](https://madebyperce.com/) for the logo.
|
|
|
|
## Case Options
|
|
|
|
* [Flat Case](https://github.com/madebyperce/aduxcase)
|
|
* [Tented Case](https://github.com/jdart/adux-tent)
|
|
* [Case with Plates](https://github.com/sadekbaroudi/cephalopoda/tree/main/Architeuthis%20dux/case)
|
|
|
|
## Keyboard Info
|
|
|
|
* Keyboard Maintainer: [@tapioki](https://github.com/tapioki)
|
|
* Hardware Supported: Architeuthis Dux
|
|
* Hardware Availability: Order PCBs with gerber files from the [repository](https://github.com/tapioki/cephalopoda/tree/main/Architeuthis%20dux)
|
|
|
|
Make example for this keyboard (after setting up your build environment):
|
|
|
|
make a_dux:default
|
|
|
|
See the [build environment setup](https://docs.qmk.fm/#/getting_started_build_tools) and the [make instructions](https://docs.qmk.fm/#/getting_started_make_guide) for more information. Brand new to QMK? Start with our [Complete Newbs Guide](https://docs.qmk.fm/#/newbs).
|
|
|
|
## Setting Handedness
|
|
|
|
Keyboard uses [handedness by EEPROM](https://docs.qmk.fm/#/feature_split_keyboard?id=handedness-by-eeprom) as default. The make commands are:
|
|
|
|
make a_dux:default:dfu-split-left
|
|
make a_dux:default:dfu-split-right
|
|
|
|
[QMK Toolbox](http://qmk.fm/toolbox) can also be used to set EEPROM handedness. Place the controller in bootloader mode and select menu option Tools -> EEPROM -> Set Left/Right Hand
|
|
|
|
## Bootloader
|
|
|
|
Enter the bootloader in 3 ways:
|
|
|
|
* **Bootmagic reset**: Hold down the top left key on the left half (or the top right right key on the right half) and plug in the controller on that side.
|
|
* **Physical reset pins**: Briefly short the RST and GND pins on the microcontroller using tweezers, a paperclip, or any other conductive material.
|
|
* **Keycode in layout**: Press the key mapped to `RESET` if it is configured.
|
|
|