Co-authored-by: filterpaper <filterpaper@localhost> |
||
|---|---|---|
| .. | ||
| keymaps | ||
| a_dux.c | ||
| a_dux.h | ||
| config.h | ||
| info.json | ||
| readme.md | ||
| rules.mk | ||
readme.md
Architeuthis Dux
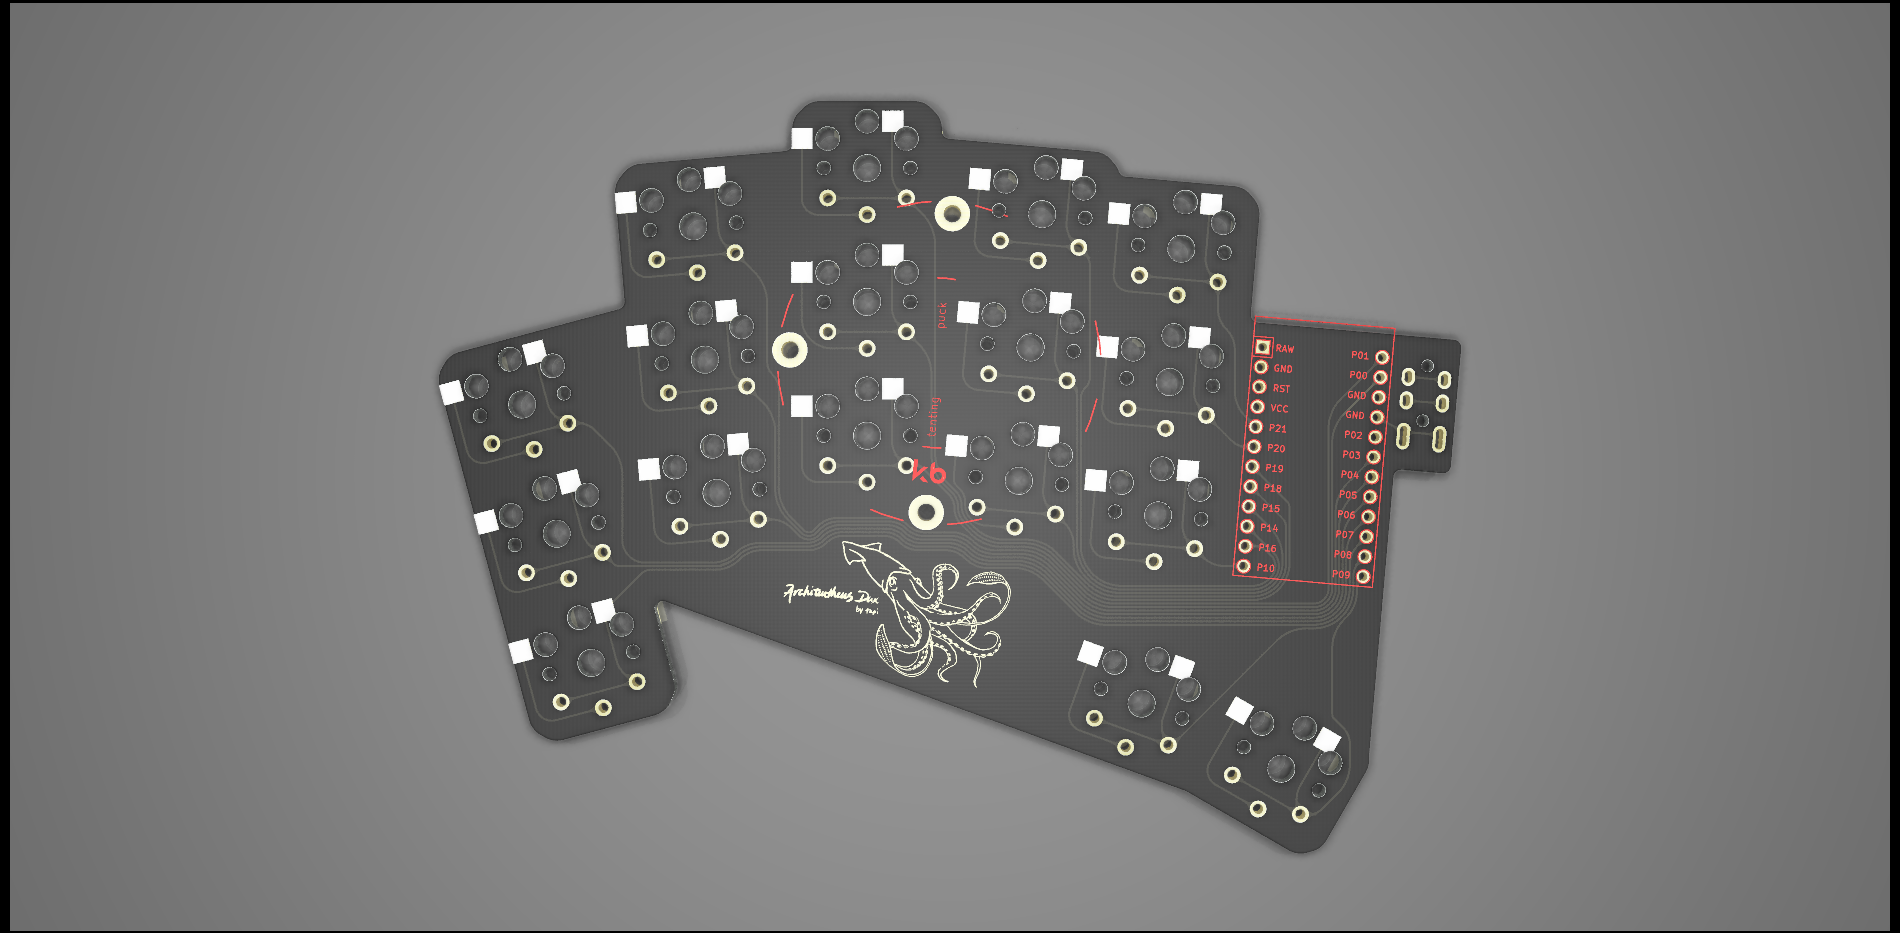
AKA A. dux, A.D., "Giant squid"
34 keys, same stagger as D. gigas, but with two thumb keys included. Pinky, ring, index, and inner columns splayed at 15, 5, 0, -5, -5 degrees. SplitKB Tenting Puck support. All PCB files are available on the project's github page
Thank you Perce for the logo.
Case Options
Keyboard Info
- Keyboard Maintainer: @tapioki
- Hardware Supported: Architeuthis Dux
- Hardware Availability: Order PCBs with gerber files from the repository
Make example for this keyboard (after setting up your build environment):
make a_dux:default
See the build environment setup and the make instructions for more information. Brand new to QMK? Start with our Complete Newbs Guide.
Setting Handedness
Keyboard uses handedness by EEPROM as default. The make commands are:
make a_dux:default:dfu-split-left
make a_dux:default:dfu-split-right
QMK Toolbox can also be used to set EEPROM handedness. Place the controller in bootloader mode and select menu option Tools -> EEPROM -> Set Left/Right Hand
Bootloader
Enter the bootloader in 3 ways:
- Bootmagic reset: Hold down the top left key on the left half (or the top right right key on the right half) and plug in the controller on that side.
- Physical reset pins: Briefly short the RST and GND pins on the microcontroller using tweezers, a paperclip, or any other conductive material.
- Keycode in layout: Press the key mapped to
RESETif it is configured.